Straw Bale Moisture Meter: A Must-Have Tool & How To Use It
People often talk to us about testing the moisture content of the bales in their walls once their straw bale house is complete. For some, it’s just a passing thought, but it's one they want to pursue. For others who are perhaps buying an existing straw bale home from a previous owner, it’s a must as they want to be sure the bale walls are dry.
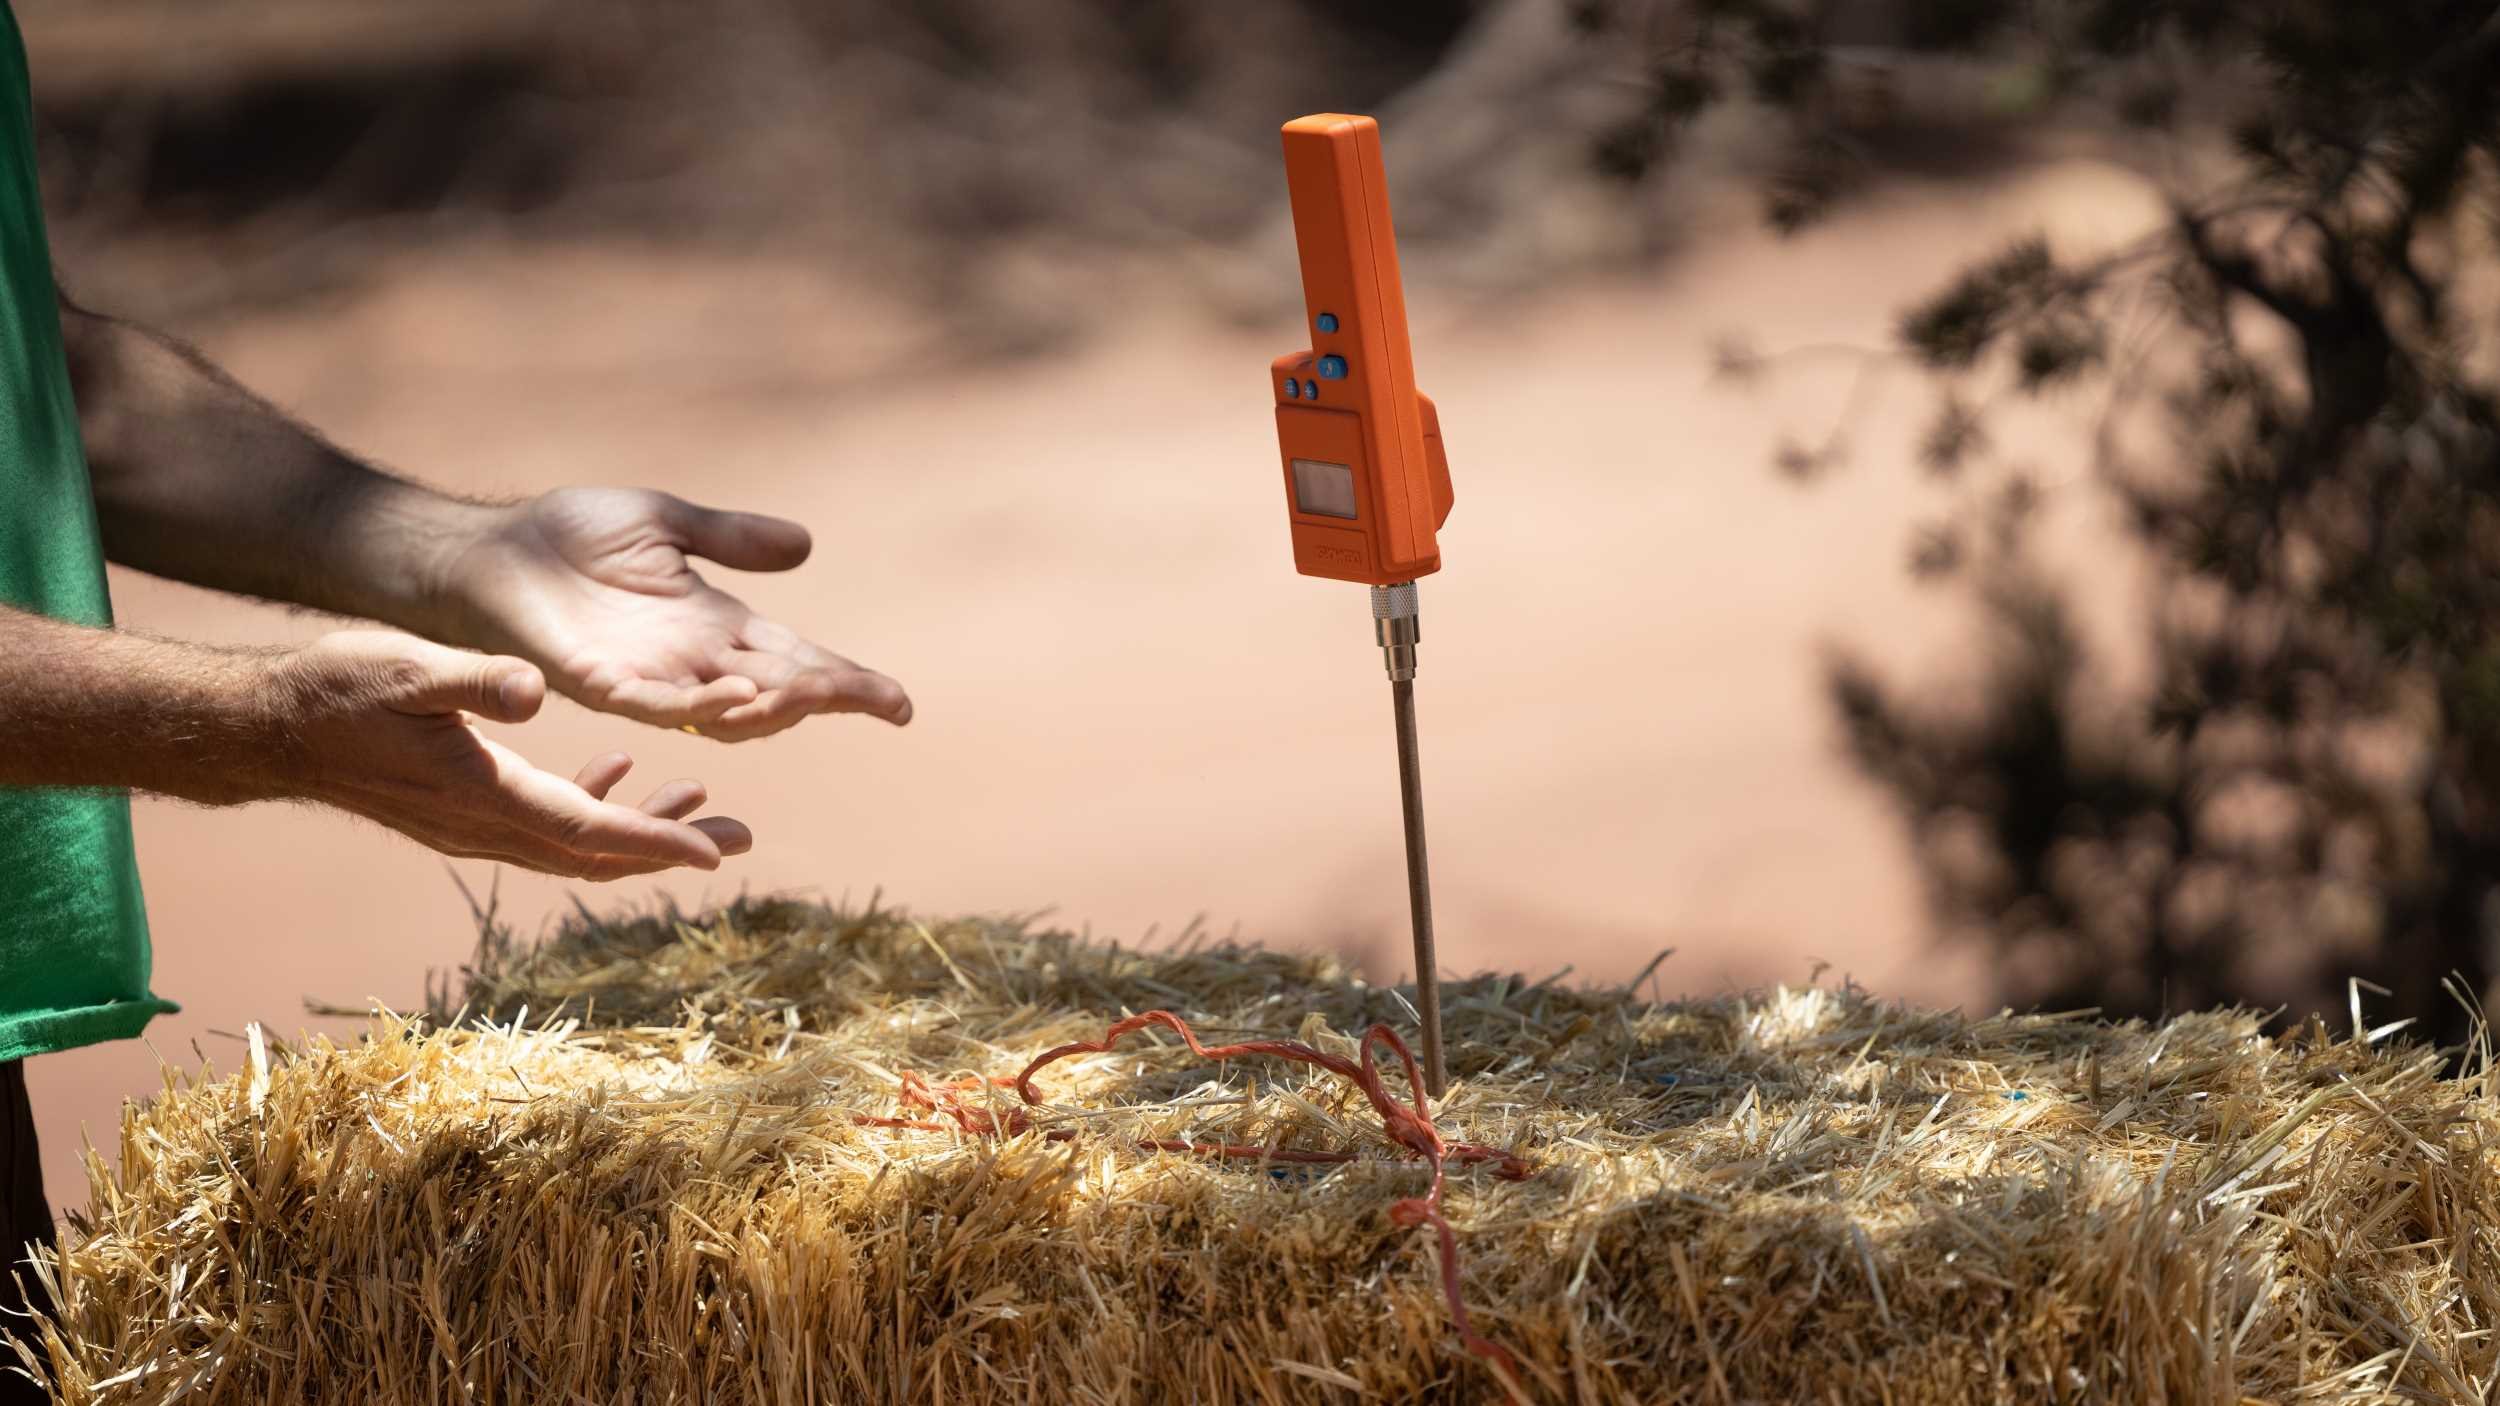
For us, if we are building with bales, having a straw bale moisture meter with a probe is standard. It is so valuable that we consider it a "must have," not a "it would be cool to have" tool.
Moisture Content Overview
The moisture content of bales is one of the most critical factors to consider. Bales with a moisture content exceeding 20% are at risk of mold growth and decay, which can quickly become irreversible. This is because the decay process generates both moisture and warmth, the conditions necessary for ongoing rot. Since bales absorb or release moisture in response to the surrounding atmosphere, it’s essential to measure their internal moisture accurately.
Focus on testing the bales themselves, not the surrounding environment. Avoid surface readings, especially in the early morning when dew can skew results. Instead, test during a neutral time of day to get an accurate and representative reading. Use a reliable tool, like a “hay probe” moisture meter, to measure deep within the bale for the most precise results. We recommend using bales with moisture content no higher than 15% during construction, ideally closer to 8%. Keep in mind that ambient humidity may influence these readings to some degree.
Straw Bale Building Phase
You can use the straw bale moisture meter to check the moisture levels of bales before you buy them. We randomly check about 10-15 bales in a stack to see the moisture levels. Be sure to check the side of the stack and the top, as moisture can get in either direction. Insert the probe into the center of the bale, as moisture in the center is almost impossible to drive out, whereas some surface water on the sides of the bales can be eliminated quite easily.
You can also use the meter on-site. There may be some suspect bales in the delivery you receive and rather than take a chance on installing a wet bale, the meter will allow you to check the moisture levels on the spot and make an informed decision. We keep our meter on-site during every straw bale build.
Here's a link to the meter we use. (paid link) You can buy a meter like this one directly from the factory, use our link, or find them in farm supply stores. It doesn't matter where you go to get it. Just be sure you buy or borrow one to have it handy!
How to Test Moisture Levels in Your Straw Bale House
Whatever the reason, unless there are sensors built into the wall (which is rare) a straw bale house owner will need a way to access the bales without destroying the plaster. The best way to accomplish this is to utilize the space behind the electrical boxes throughout the home. Because they are usually placed every 12′ or so along the base of the wall (plug locations) and at or near every door, both interior and exterior (light switches), they make the perfect access port for checking the condition of the bales.
What’s more, because many builders over the years have not done a good job of sealing up the electrical boxes, they are heavy indicators of moisture penetration into the bales. Warm, moist air is driven into the walls and takes the easiest path into the bales.
Since the plaster acts as a vapor seal over most of the wall surface, the penetrations in that seal (the electrical boxes) represent the path of least resistance.
We suggest that people seal their electrical boxes in one of several ways. The easiest is to use vapor gaskets on every box. The cheapest way is to use spray foam in the back of the boxes. The spray foam makes checking the bales at a later date harder, but it can still be done.
Here’s one way to test your bales. (As always, safety first. Find an electrical expert to help you with the relevant steps as needed!)
Turn the power off. Verify the power is off.
Remove the box cover plates and pull the receptacle (switch or plug) out of the box.
Use a screwdriver to pry the wire clamp or pinch strip (if present) out of the way and insert a moisture probe into the space at the back of the box.
Insert the probe as far into the bales as you can. Getting the angle right may take a few tries. If spray foam is present in the back of the box, dig a hole through it with your screwdriver and continue as above.
Be sure to reseal the box when you are done. Turn the power back on and verify everything is working properly.
This method works well with the boxes we use in North America; however, we know that the boxes are different worldwide. For example, the boxes used in the Portugal workshop could also work for this; however, they were much smaller than our US electrical boxes, so the proper angle for penetration of the bales may be hard to achieve.
Give it a shot and see how it goes. It’s better than drilling holes in your walls!
Bale on,
Timbo & Dainella


