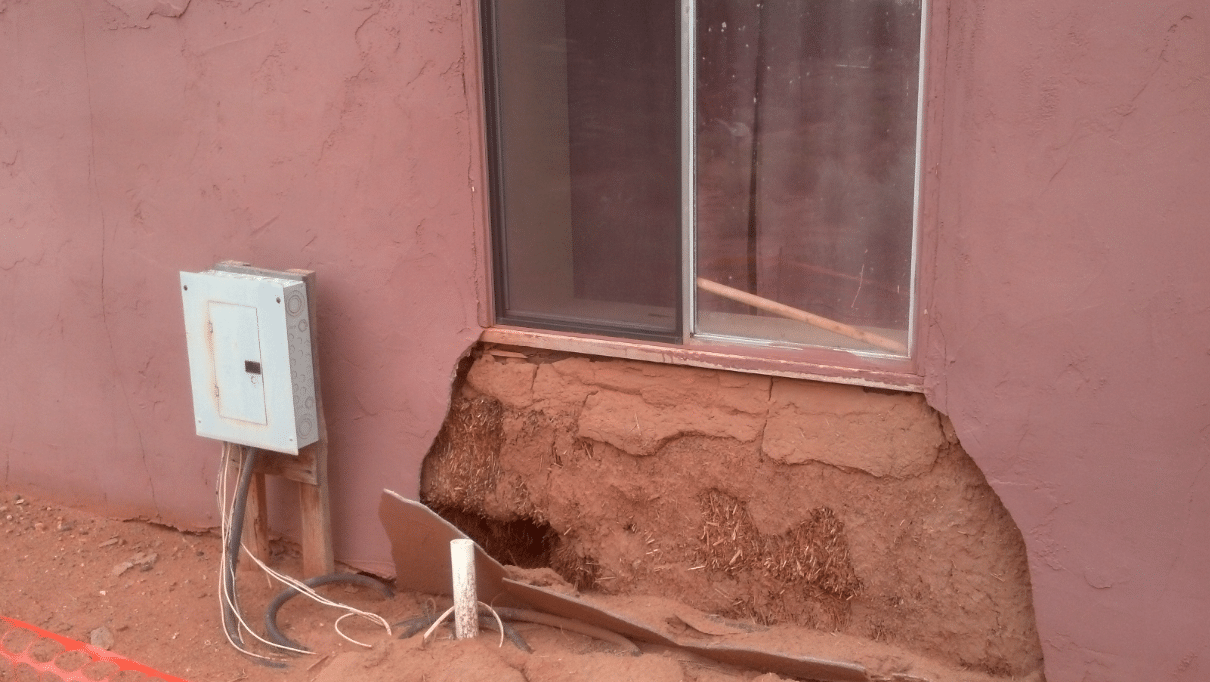
Replacing Rotten Straw in an Existing Straw Bale House
A consulting client recently asked me what the best practice is for replacing rotten straw in an existing straw bale house. I realize that this is a topic that concerns a lot of people when they first learn about straw bale construction and I want to make clear that this is extremely unusual and not something that most people will ever have to deal with. The most important thing when designing and building a straw bale house is to ensure that you do so with the understanding that water must be kept away from the walls.
The client I am working with (in the rainy Pacific Northwest) has a home in which the architect did not include any roof overhangs on two walls. That is a recipe for trouble in any house, not just a straw bale home. So although I believe it is important to share with you the proper steps for replacing straw, the overwhelming data shows that you will never need to.
Below are the steps to replacing rotten straw in an existing house. Although each specific location may have subtle differences, the basic steps are still the same. The level of difficulty you will experience in replacing straw in an existing structure will increase with the amount of straw you need to replace and its location. For this reason, it’s best to only replace the straw that absolutely needs to be replaced, and no more.
Whether you need to replace a small amount of straw or an entire section of bales, the process is pretty much the same. The biggest difference is that when fixing a small patch, the surrounding bales don’t need to be supported at all once the material is removed. If, however, you need to replace entire bales, you will need to provide support for the rest of the wall so that things don’t sag into the gap you create when the bales are removed. It is also more difficult to remove entire sections of wall because the plaster in both sides of the wall needs to be removed or, at the very least, loosened from the bales.
Remove the plaster in the identified area of damage with a hammer drill and a chisel bit. Over excavate the area of concern so that you expose the wire mesh about six to eight inches away from the damaged area in all directions. This will allow you to replace the rotten straw and properly tie-in the new mesh.
Cut the mesh away from the damaged area. Be sure to leave at least six inches of undisturbed mesh around the damaged bales. This will meet the requirement for mesh overlap later, which is vital to eliminating potential plaster cracks in the patch.
Scoop out damaged straw. You may want to use a small gardening rake (hand-held with 4 sharp tongs) to more aggressively remove the material.
Use a moisture meter to determine where the damaged straw ends and the clean straw begins. Make sure that you are at least one inch into the clean straw when you stop digging. You don’t want to go through all this trouble and leave rotten straw, in any amount, in the wall. Check for high moisture readings in every direction: up, down, left, right, and back into the wall. Anything above 18% should be removed. Ideally, the moisture readings should be no higher than 10-12%.
Slide a piece of burlap underneath the mesh that you left exposed and intact. Leave the top side of the burlap loose and long enough to be tucked under the mesh later. Use landscape pins to secure the other edges of the burlap.
Stuff fresh and clean straw behind the burlap so that the patch is tight. It may bulge away from the wall a little, which is fine; however, make sure that when you press against the patch, it flattens out properly so you don’t end up with a bump in your finish wall.
While placing pressure against the patch, pull the top portion of burlap tight behind the mesh and secure it with landscape pins into the bales.
Cut a piece of mesh large enough to cover the entire exposed area and place it against the wall. Tie it to the existing mesh with tie wire or cable ties. Be sure to pull it as tight as possible to help flatten out the patch.
Apply plaster to fill the patch. You will need to do a scratch, brown and finish coat. The finish coat will cover the entire wall to clear stopping points. If you just do the patch, you will have a permanent “burn mark” that will not look good. If you are using 100% earthen plaster, you can simply replaster the patched area and feather the new plaster into the old by properly wetting the existing plaster. This only works with 100%, unsealed, earthen plaster.
The reality is that you will likely never need to use the information in this blog post; however, if you do find yourself with water damaged straw, the sooner you dry out the wall and replace the non-salvageable straw, the better. Remember that bales are like giant sponges and the longer they are exposed to water, the more they will absorb and the farther the water damage will extend.
One thing that goes without saying (but I’ll say it anyway) is that you MUST identify and repair the source of the water damage before you start replacing straw. There is no point in doing all of this work without knowing what caused the problem in the first place as it will simply return and damage the new straw you have installed.
-Andrew Morrison

